I can’t resist re-posting this DIY Metallic and Glitter Gourds project. One because I loved making them and how they turned out and secondly, I gave away many of my glitter gourds and wanted to make them again for this year’s table.
A few years ago, when I pulled out my Fall/ Thanksgiving storage bins, I realized I had many more
faux gourds than I remembered. Shhhh.. don’t tell but I do have a little problem of over buying craft and decorative items when I see them!
I thought.. why not do an easy DIY with metallic and glitter??
The bright shiny oranges and greens do not really go with my decor and, while fun for a harvest table, I wanted to get out the spray paint and glitter to give them an update for my Thanksgiving table. I took a trip to my local Michael’s and loaded up on some supplies. You can do the same – but if you don’t get there in August, all the Fall decor is gone! So I created
the Amazon DIY Glitter and Metallic Gourds Shop with everything you need for this project.
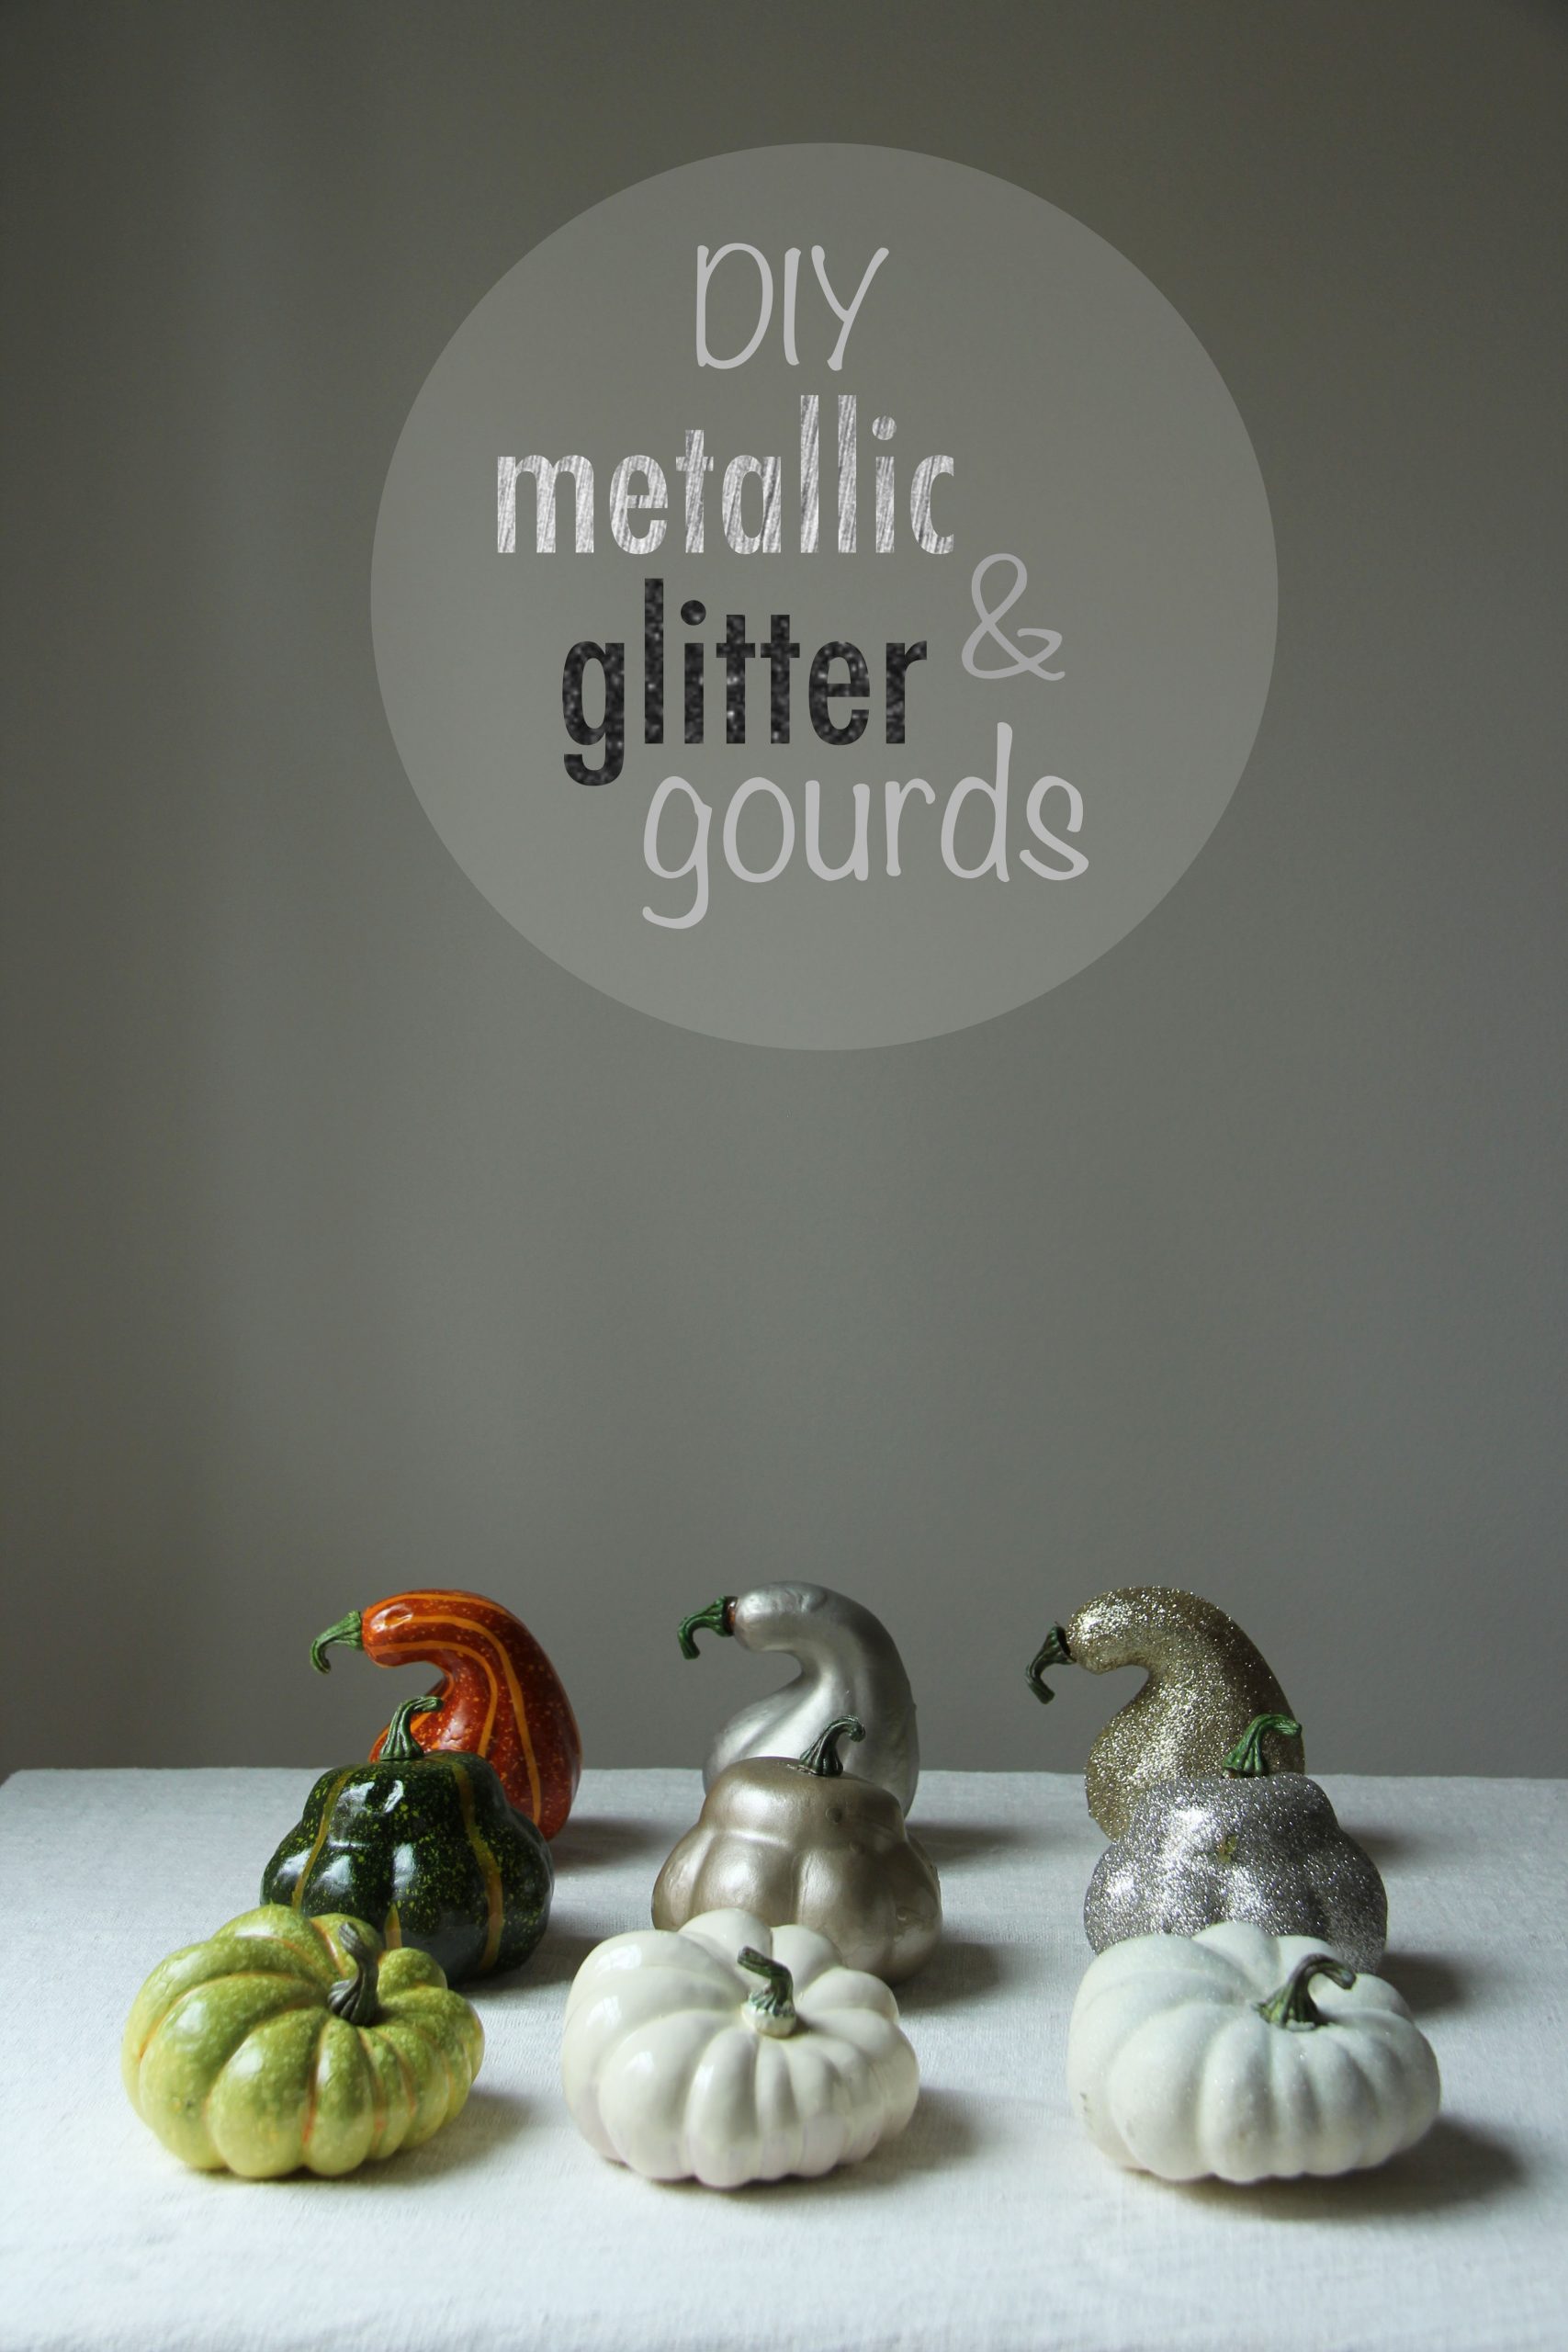
I taped off the stems with painters tape and spray painted several different shaped gourds in one of three colors:
I took a pretty deep cardboard box and cut off the top flaps of the box so I had a four-sided open box. I kept the top flats for drying the painted gourds. I took the box outside to spray the gourds. Put on a pair of disposable gloves so you do not get paint all over you. I forgot to do this at first and had to use turpentine to get the paint off my hands. Hold the gourd inside the box and spray it on all sides. This really helped keep the mess down.
Set the spray-painted gourd down on one of the cardboard tops to dry.
Spray all the gourds in the first color and then repeat the process with additional color paint
It took several coats to cover the bright fall colors.
TIP: if you want the bottom to be painted – start painting the bottom first and set down to dry – then paint the sides and top.
For the glitter gourds, I placed down a large piece of craft paper on my table and taped the stems on the
gourds with
painters tape. I poured
Aleene’s Tacky Glue into a small disposable cup (I used a cup like
this one that you can get at any fast food restaurant for ketchup) and using a
sponge brush I painted the glue on the gourds. (For the gold and silver glitter ones I painted right onto the colored gourds, but for the white glitter I painted the glue over a gourd painted ivory.) Immediately after applying the glue I sprinkled the glitter onto the gourd over a disposable bowl. I shook off any excess glitter into the bowl and scooped it out of the container with a spoon, re-applying it to the gourd. Any spots that did not have glue, I dabbed the sponge brush with glue on the spot and re-glittered. when I was finished, I poured the excess glitter back into its container. It did not get clumpy when I reapplied the glue and glitter, but I did miss a few spots (can you see them?). If I have time, I will go back to touch up later…
I sprayed the glitter gourds with
hairspray to seal them because I didn’t have a
clear sealant spray and I didn’t feel like going back to the store. It did make the glitter fly around when I did it, so be sure to do this outside or where you do not want glitter everywhere! The hairspray worked just fine, but I now have the
clear acrylic coating spray for this time around. I think it will be better because it won’t yellow over time.
Note 1: If the glue is too thick, add a drop or two of water
Note 2: I did not change out the glue brush or bowl when doing the three colors, but I did do the white first so that it stayed cleanest. I poured the excess glitter back into its jar after I was finished and wiped out the bowl before the next color. The glitter is tiny and does stick to the bowl so that is why I did the white first. A little mixing of silver and gold was not visible on the gourds.
I have to say that it was a really easy and fun project. Check out how they look on my table in this post!